
As I was talking about nail art I also mentioned nail art which some of you may have never heard of. I'll tell you everything you need to know about nail stamping so have no fear, Nina's here!
Briefly explaining, the way nail stamping works is if you apply some nail polish on a nail plate and swipe the excess polish off with a nail scraper and press a rubber stamp on the plate which picks up the design and press the stamp on your nail to transfer the design. This is the best way I can explain but it makes much more sense to watch a video which I'll be posting one in the next 24 hours on my channel so keep your eyes peeled here and subscribe while you're over there :)
First thing's first, you need at least four essential tools which are:
A nail stamper - There are two types that I know of so far which are single ended and double ended.
I also categorise them by the type of material they're made from such as a matte rubber stamp or a shiny rubber stamp.
A single ended stamper only has one end and is great for beginners as you have more control of the handle and the amount of pressure you're applying to your nails.

This is how it looks at the top and it actually came with some nail plates I bought but I had trouble using it because it didn't seem to pick up the designs oddly enough.

This is another example of a single ended stamp which happens to look like a child's toy. I'm not really a fan of the shiny rubber stamps as I seem to have trouble with them. This also came free as a gift from an order I placed from China.

Oddly enough the free rubber stamps above didn't seem to work for me, so most of the time I've been using my Konad rubber nail stamper which has worked wonders for me over the past few months. I highly recommend this for beginners because for some reason the stamps I received as gifts didn't work as well as the stamps I bought so make that something to keep in mind when you're thinking about the type of nail stamping tools you want to use.

My trusty Konad double ended nail stamper has been my life saver. It picks up the designs efficiently and is very accurate. This is the small end which is useful for dark colours and small designs, you can also use it to control the accuracy of where you want to position your design on your nail:

Here you have a big end for bigger designs. This size is commonly used for designs that take up more space on your nails and would need a large stamp to pick up the design.

Finally, this double ended, shiny rubber large stamp is my most recent stamp I've been using. It's called the XL Double Sided Stamp & Scraper from MoYou London and at first I was a little bit doubtful as to whether it would stamp the designs on properly from my past experiences with shiny rubber nail stamps but to my surprise, it actually worked!
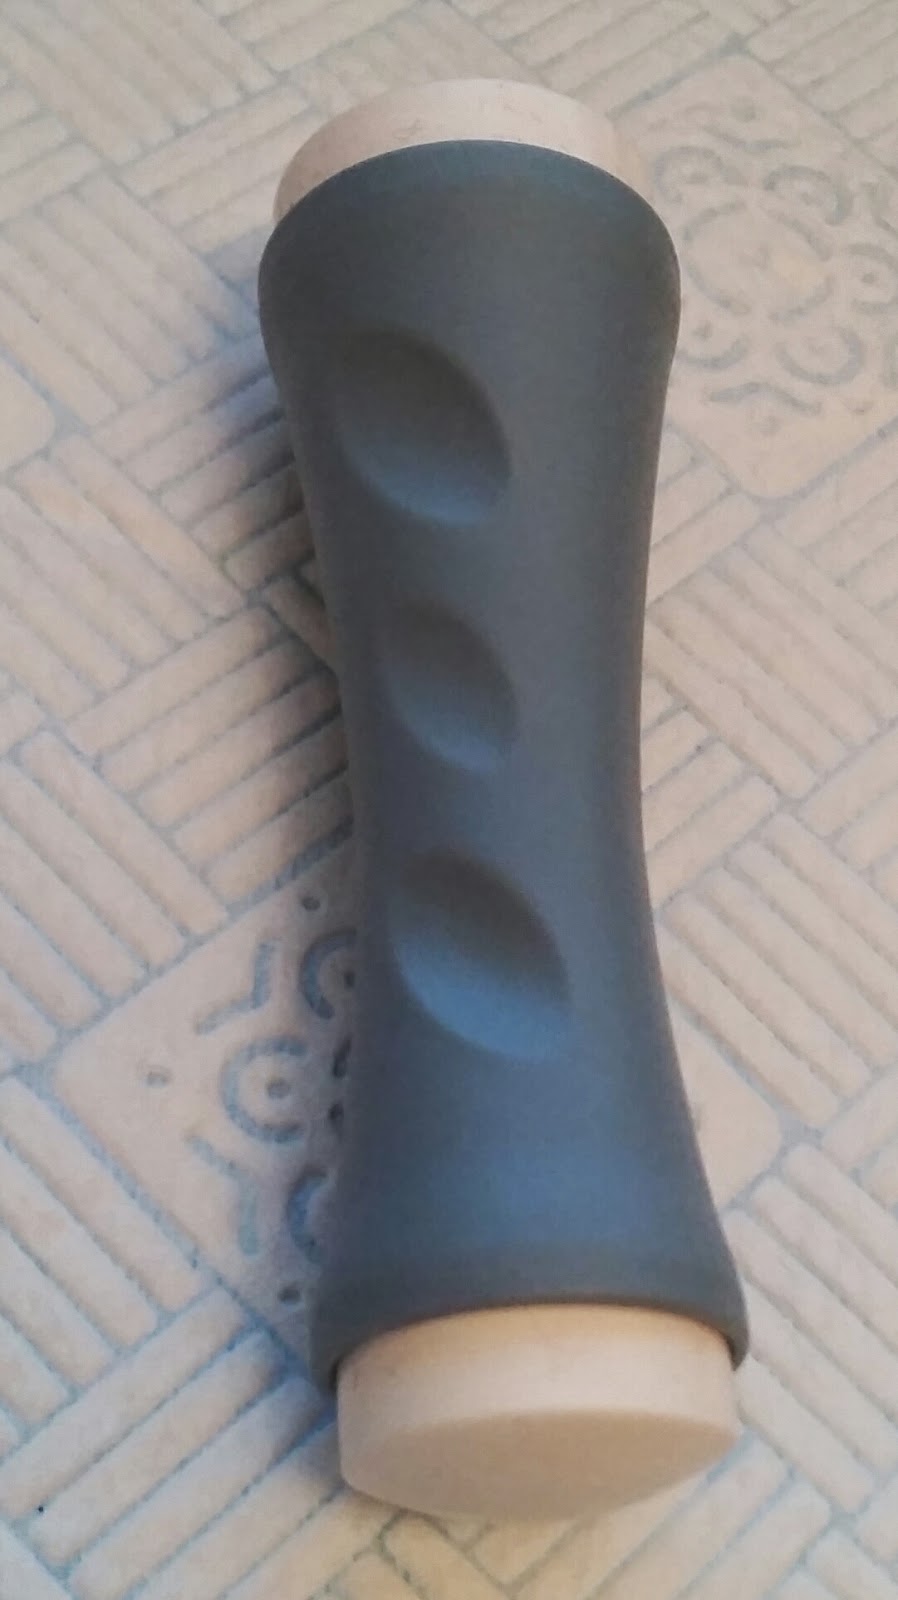
The handle is also easy to hold and you get a good grip thanks to the indents on the side of the stamp. The Konad one also has this but is much smaller than this one.
A nail scraper - You can get either a metal or plastic scraper and what works best is a matter of opinion although they're both fine.
I prefer plastic scrapers more because in my opinion you can press harder against the plate to scrape more excess nail polish without the worry of damaging the nail plate. I also like how you can get a cleaner swipe the very first time you scrape the nail polish out of the way with a plastic nail scraper and best of all it won't go rusty so it saves you from buying another scraper which also saves you money in the long run.
The picture of the one below came with my MoYou London XL Double Sided Stamp & Scraper. I have to say that the handle is quite spacious which gives you the advantage of better control when you're scraping and as a result more accuracy with less effort.

A nail stamping plate - You can get these from various websites depending on what you want. If you're new to nail stamping I recommend buying small nail plates such as the Cheeky set of 26 nail art plates which is what I started with. Unfortunately they've discontinued selling it on Amazon but I'm just mentioning it anyway to give you an example of what you can buy if you're new to nail stamping and want to experiment with different designs without spending too much money.
Nail polish remover - This is absolutely essential because if you make a mistake you'll have to clean it up and when you're finished you need to make sure your equipment is clean for the next use. I recommend using a cheap nail polish remover to clean your equipment but a nourishing formula for removing nail polish from your nails. This ensures you're reducing if not avoiding any damage to your nails while you're painting and stamping them.
Useful tip - Make sure the polishes you're using can withstand the pressure of the rubber stamp before attempting to use them for stamping. It saves you time and money knowing that your nail polish won't dent or smudge when you're using your stamp. OPI, Bourjois and Collection are my top personal recommendations.
